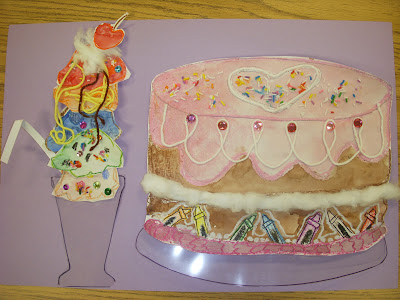
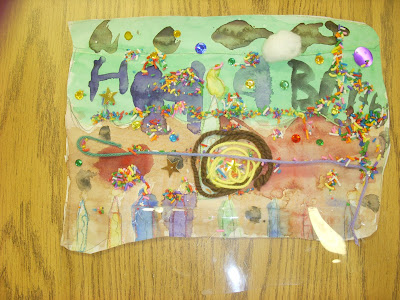
This is by far one of my very favorite art lessons-but last year got busy and I forgot to post this! How could I?! Well here it is. Wayne Theibaud makes these mouthwatering depictions of cakes, pies, ice cream cones, floats, and many kinds of candy. He likes to give his paintings demension by thickly applying his paint to mimic the frosting on his cakes and sweets. We were inspired by these sweet confections and had a choice at making the float or a cake!
 | |
| Miss Oetken's Wayne Thiebaud Ice Cream Float and Cake |
I showed students how to draw with pencil first, a 3-demensional cake using the space of the paper. We talked about detail.
Students then could use metallic crayons, construction paper crayons, and regular crayons to press hard to outline their cakes and decorative frosting.
For the ice cream float, I showed students how to trace the scoops, and they should make 6 different flavors! Add detail with toppings to show us what kind of ice cream it is. Outline with crayon. Then watercolor on top!
Let dry and then the real fun begins! I told students for our 2nd classtime, to cut out carefully. For the ice cream float, assemble scoops on top of each other like a tower. Now it's time to decorate! We had different tasty stations! Whipped cream table was cotton balls that you can gently pull apart and apply with glue for whipped frosting or whipped cream! We also had a candy station that were jewels and sequins, a yarn station that could be the 'piped frosting' designs, syrup on the ice cream sundae/float, r 3-D layers of frosting inbetween layers of cake, and then finally a sprinkle station with real sprinkles! Oh and for those floats, I had a hot glue gun station to glue a REAL bright colored straw to the back to make it look like it was sticking out!
For our final step, we took cake plate tracers and 'glass float dish' tracers, and traced on clear overheads with a permanent marker. Then used strong tacky glue to attach the cakes and icecream floats to their containers. Ta dah!


This blog highlights exactly what students go through during academic pressure. Managing multiple deadlines, research, and formatting can get overwhelming. I found that getting coursework help UK really eased my stress and improved my grades significantly. It’s not just about getting work done—it’s also about learning how to structure and present ideas better. For anyone struggling with their workload, I’d definitely recommend exploring trusted academic support options like this. Thanks for sharing such valuable insights!
ReplyDelete